How to Get Garage Floor Coating Done Right - A Case Study - Advance Industrial Coatings
Garage floor coating is not inexpensive comparing to other garage floor options, but its durability is unmatched and will last you decades before it ever needs repairing or a new coat. You can pay a couple hundred dollars for an epoxy DIY kit with all of the supplies you need. Chances are, you will need to deal with the floor paint peeling up under your vehicle's tires after a few months if the installation was not done right. Today we will show you, how AIC, a professional garage floor coating contractor, gets the garage floor coating done right.
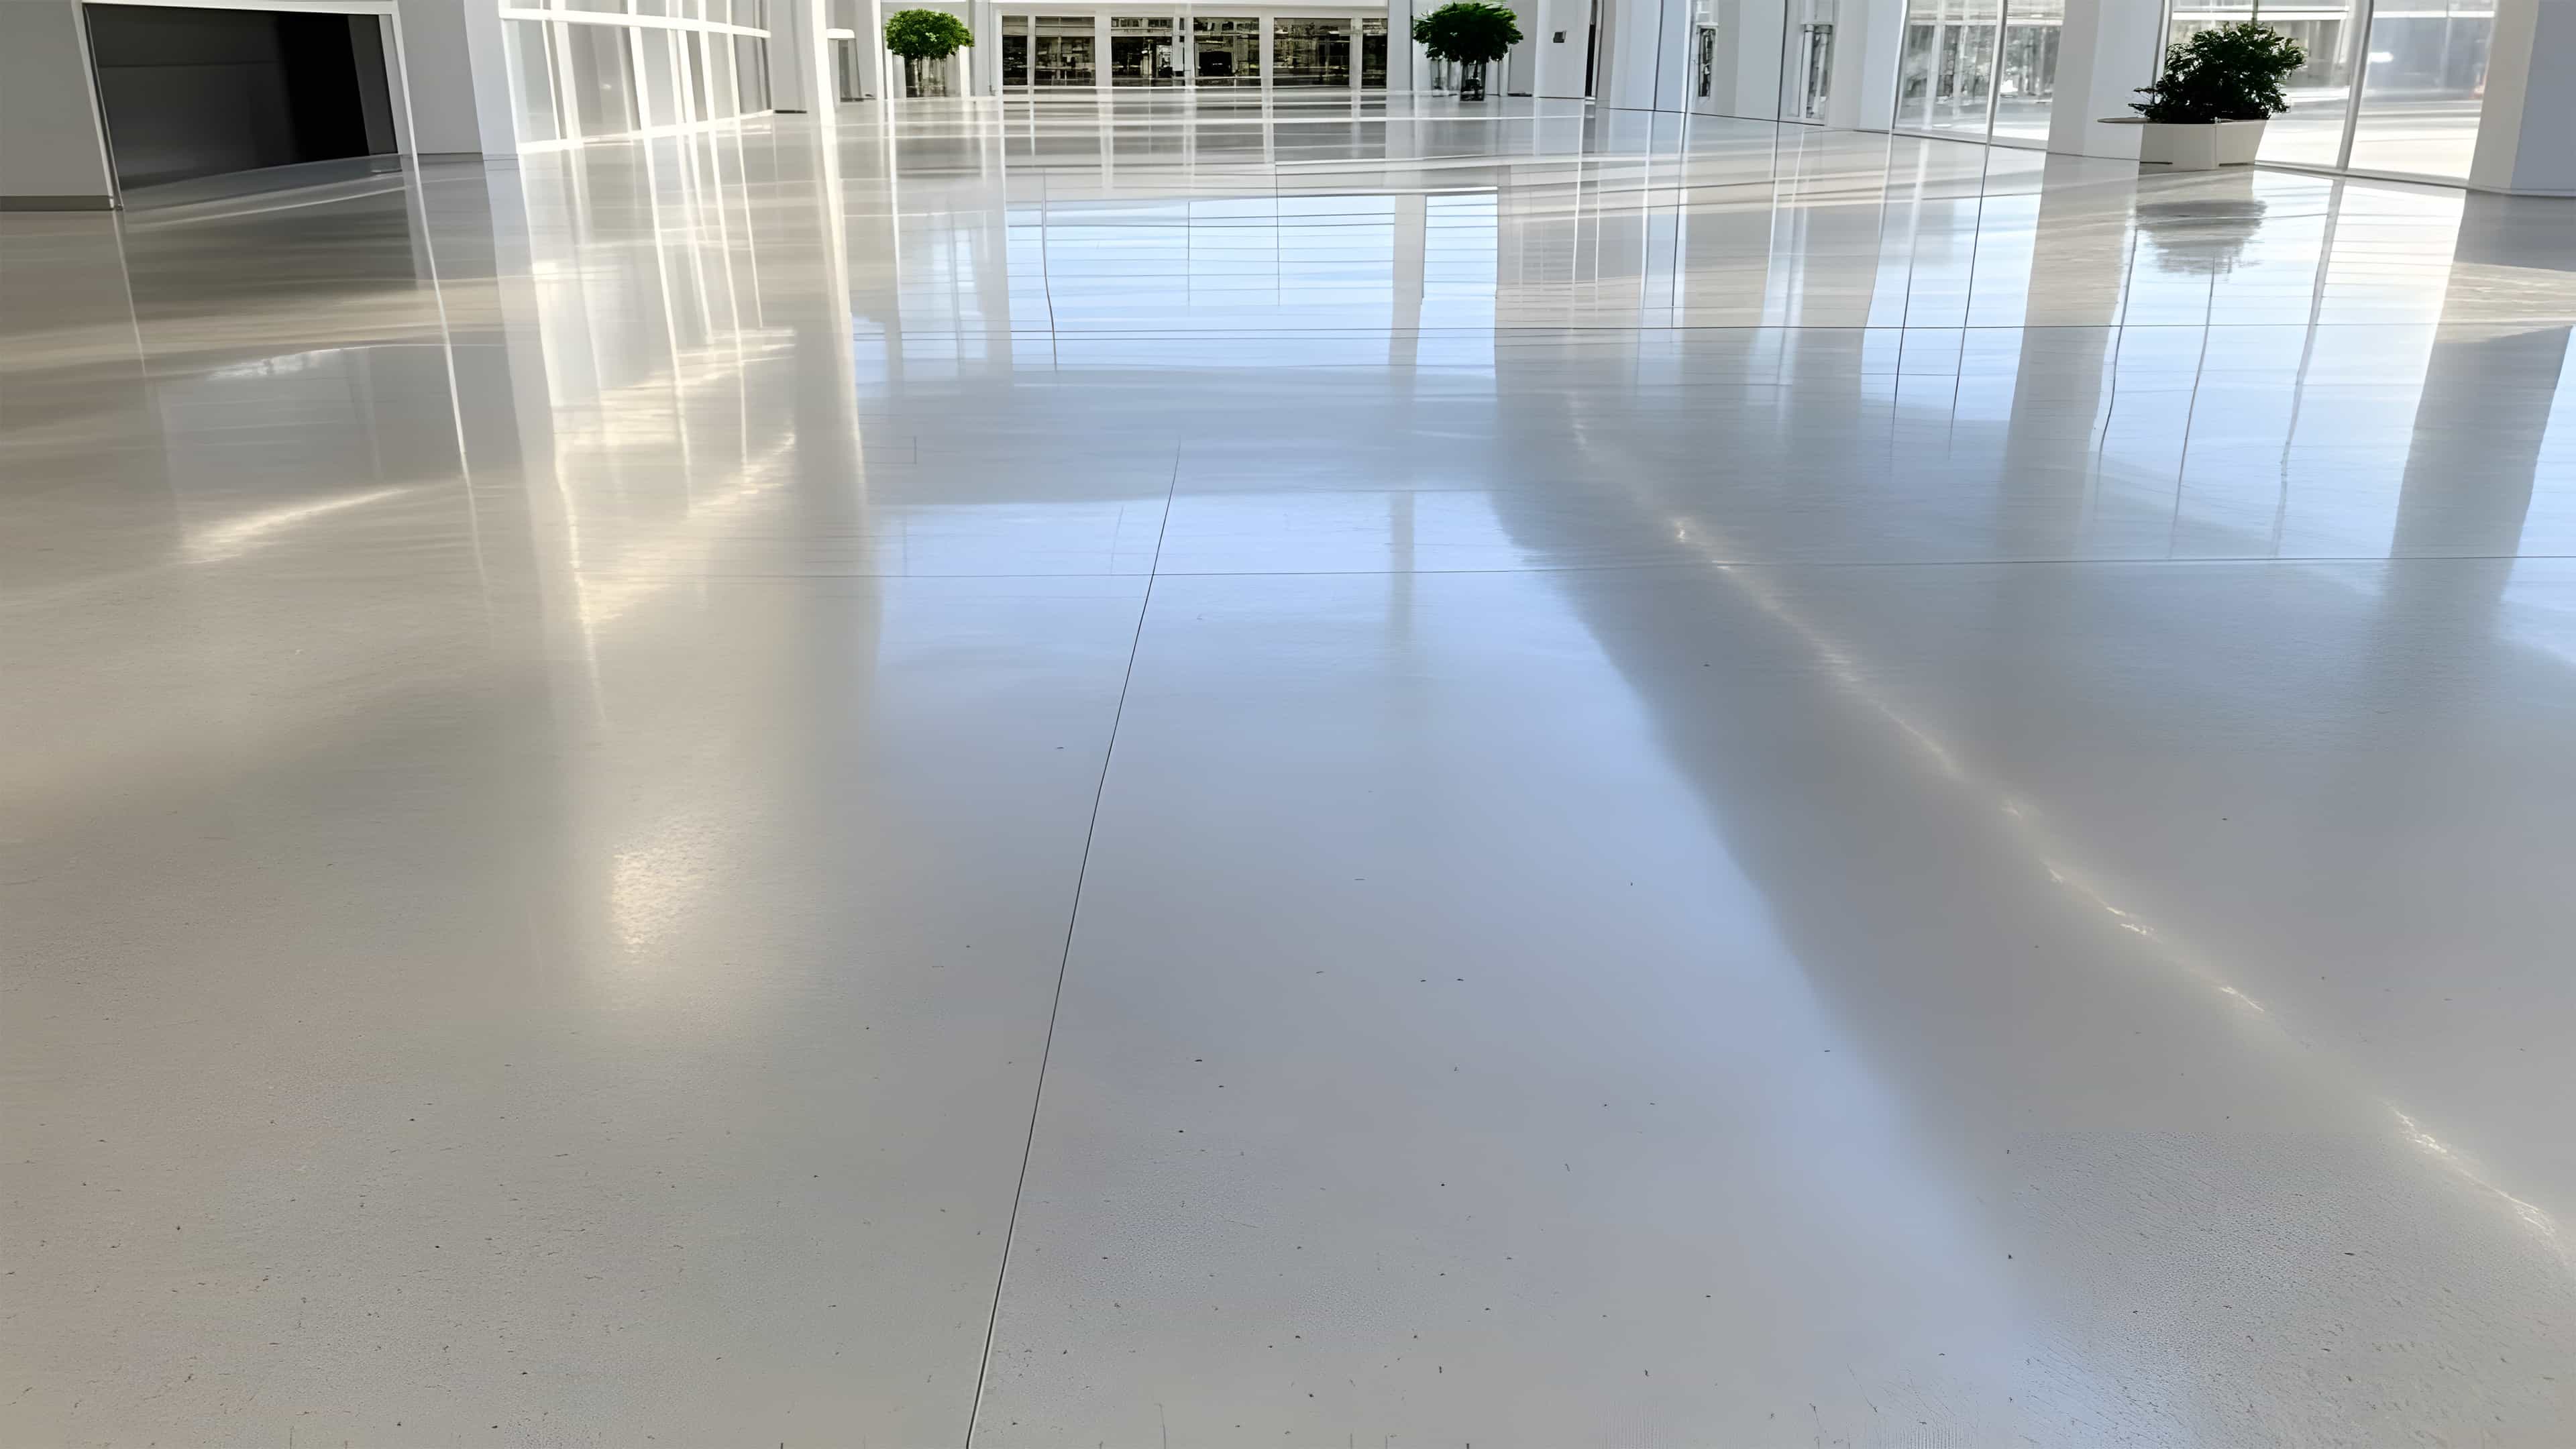
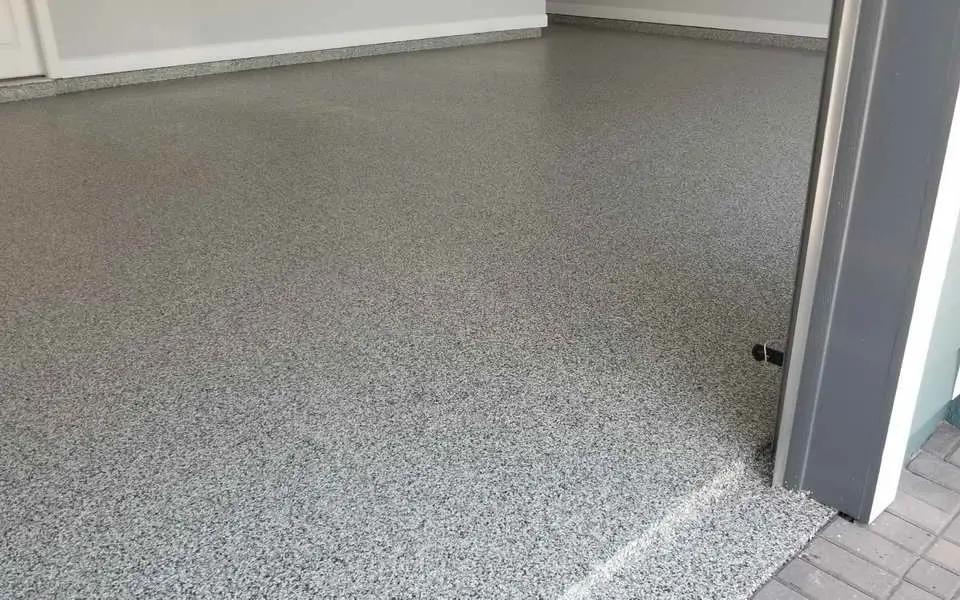
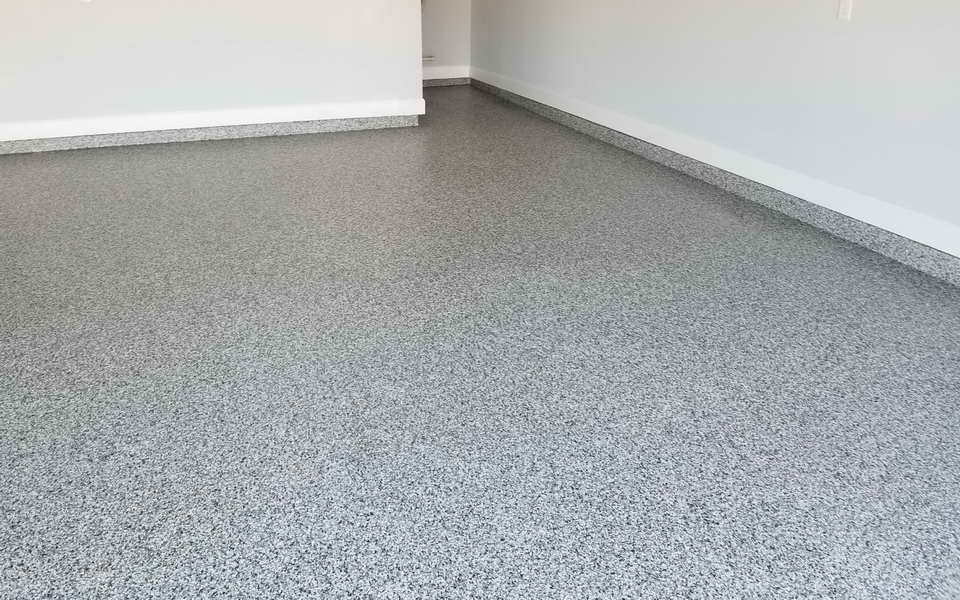
This is a residential garage epoxy flooring job we did a few weeks ago.The customer picked Double Full Broadcast Decorative Flake System which is almost the most reliable and durable system we recommended. The size of the garage is about 750 square feet. The job was done in four days (5 separate mobilizations). The temperature during these four days are all around 70F - 80F, which meets the manufacturer's application temperature requirements. The environment humidity is also within acceptable levels.
Garage Floor Coating Done Right
Step 1 Surface Prep
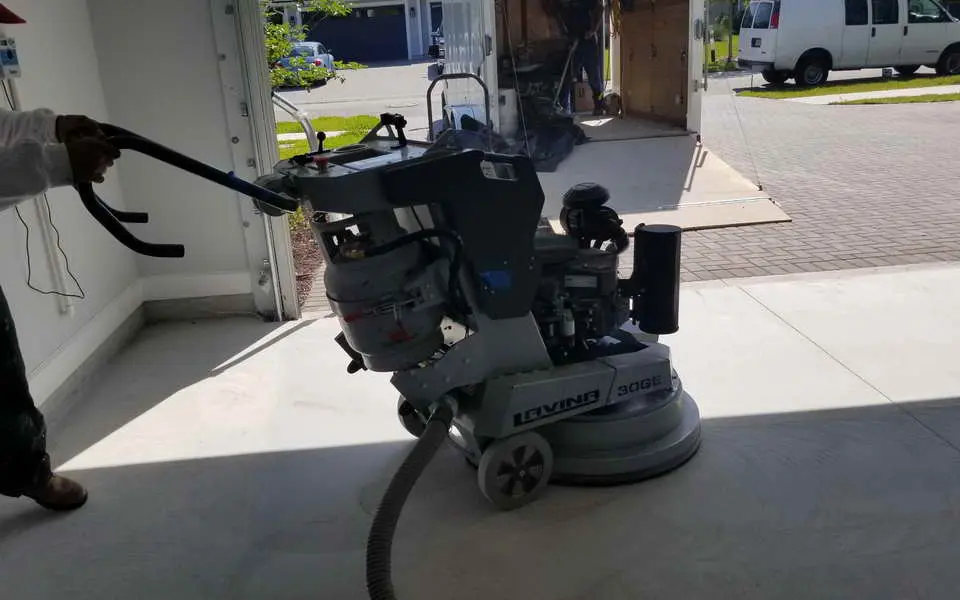
In the first and very critical step, we used our cutting-edge concrete floor grinder, grinded the concrete substrate two times thoroughly following the manufacturer's material datasheet surface prep guidelines. The purposes of the whole grinding process are:
- Make sure to remove all surface contaminants like existing sealing, glue, or coating etc.
- Open up the concrete substrate to ensure proper penetration.
- Create a decent surface profile as required by the coating manufacturer for better coating adhesion and bonding.
The standard Concrete Surface Profiles developed by the International Concrete Repair Institute (ICRI), are divided into ten classifications (CSP 1-10). We followed the surface prep guidelines to meet coating manufacturer's surface profile requirement.
The grinder we were using for this job as shown on the picture costs more than $30k and weighs about 800 lbs. You will never be able to get the same surface prep results with a hand grinder, acid wash, or Home Depot rented sander. If necessary, we would also use a professional edge grinder like our LAVINA ELITE L13GE for better corner and edge surface preparation.
Garage Floor Coating Done Right
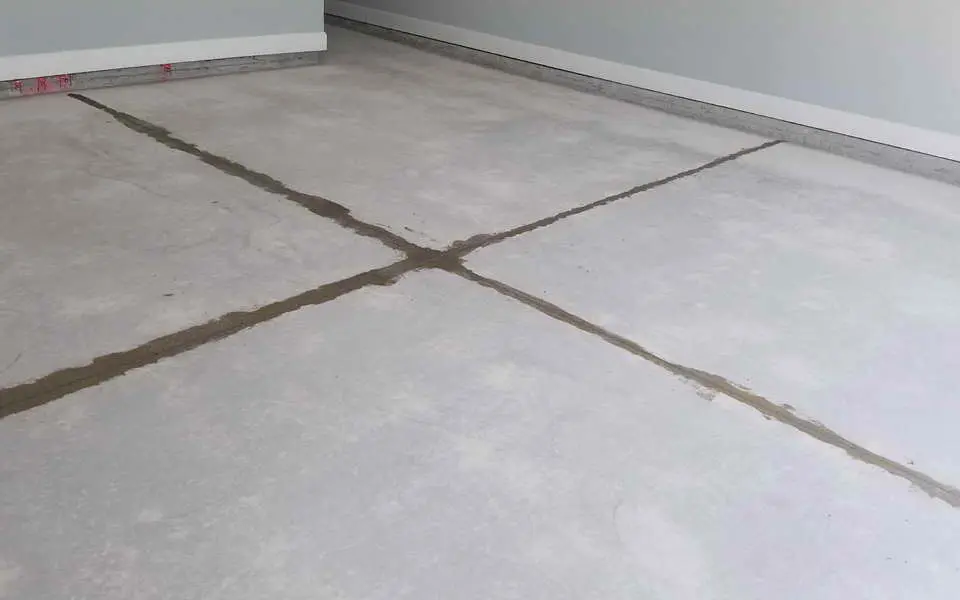
Step 2 Concrete Patch, Crack Repair, and Joint Fill
When we completed the grinding process, we will vacuumed and cleaned the whole floor and then carefully checked the concrete substrate conditions. We inspected the concrete for bug holes, voids, fins and other imperfections. Then we applied patching materials to all defect areas, repaired all concrete cracks, and filled all voids and joints.

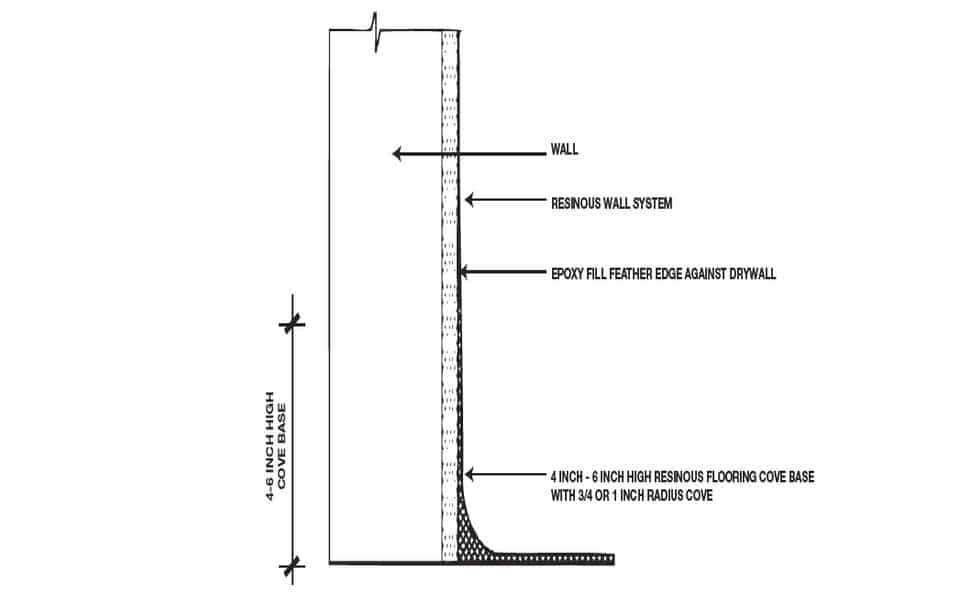
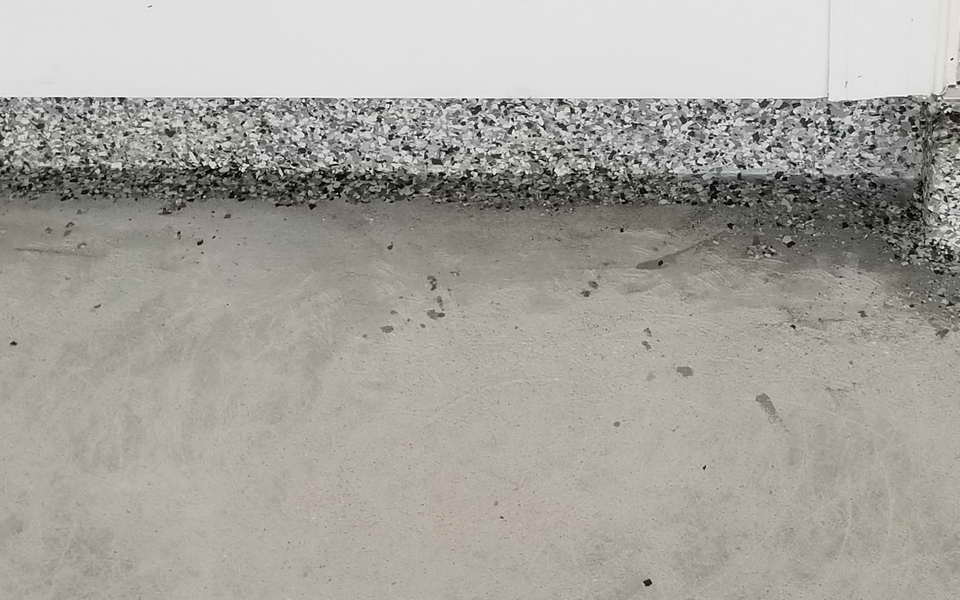
Step 3 Install Cove Base
Next, we installed integrated epoxy cove base for the whole garage to create a seamless flooring system. The cove base is 4" high with 3/4 to 1 inch radius cove. The manufacturer's epoxy cove base system installation guideline were strictly followed.
Step 4 Apply Primer with 1st Broadcast Decorative Flake
The next step, we applied 1st coat industrial strength epoxy as the primer with 1st broadcast decorative flake. The coating material we used are normally 100% solid epoxy. The epoxy material included in most garage floor coating diy kits are only 30% solid.
Apply Primer with 1st Broadcast Decorative Flake
Step 5 Apply 2nd Coat with 2nd Broadcast Decorative Flake
After that, we swept and vacuumed loose flake. Then applied 2nd Coat GP 3569 Epoxy with 2nd Full Broadcast Decorative Flake

Apply 2nd Coat with 2nd Broadcast Decorative Flake
Ready to transform your space?
Contact AI Coating today for a free consultation about your epoxy flooring needs.
Step 6 Apply 1st Top Coat Polyurethane
The next day, after swept and vacuumed loose flake, we applied the first coat of top urethane coat. Polyurethane finish coat is UV Stable and Fade Resistant so the garage floor coating we installed will not fade or change color under sunlight exposure. The products we used are all industrial grade, heavy duty and have certain capacity of chemical resistance, and abrasion / impact resistance.
Apply 1st Top Coat Polyurethane
Step 7 Apply 2nd Finish Coat Polyurethane
In the last step, we applied the second finish coat of the urethane floor coating. The whole process is now completed. The customer was really excited for their new beautiful and long-lasting garage floor coating!

Apply 2nd Finish Coat Polyurethane
Conclusion
When it comes to garage floor coating cost, we hate to just tell people "you get what you pay for". However, we did see many cases people were not happy about the look or the quality of their garage floor coating done by themself or some "lowest-price-guaranteed" contractors, and have to spent a lot more time and money to redo the whole job.
So we would rather explain our price, our process, and why our approach is different than later have to make excuses for poor quality. How to get garage floor coating done right? We hope this case study helps.